How to Digitize a Large Photo Collection: Systematic Approach for 500+ Photos
Complete guide to digitizing a large family photo collection. Planning, equipment, workflow, and quality control for collections of 500 or more photographs.
ArtImageHub Editorial Team
Prices and project totals in this article are reference estimates. Your current ArtImageHub offer is $9.90 for a one-time payment; review the access terms at checkout before paying. Upload follows payment.
Editorial trust notice: This guide is published by ArtImageHub, an AI photo restoration service charging $9.90 one-time. Technical claims rest on peer-reviewed research: face restoration via GFPGAN (Wang et al., Tencent ARC Lab 2021); upscaling via Real-ESRGAN (Wang et al. 2021).
Updated 2026-05-01: AI model lineage clarified — most consumer photo restoration tools (including those compared here) wrap derivatives of GFPGAN (arXiv:2101.04061, Tencent ARC Lab 2021) for face restoration and Real-ESRGAN (arXiv:2107.10833, 2021) for upscaling. Differences between products are mostly pricing model and workflow, not raw AI quality.
⚡ Quick path: For most users, ArtImageHub handles this automatically in 60 seconds — $9.90 one-time, no subscription, no watermark on HD download. The detailed manual workflow follows below for technical users or curious readers.
Five hundred photographs. A thousand. Two thousand. At some point, the scale of a family photo collection changes the problem from "restore some photographs" to "create a systematic archive."
When Lisa inherited the family photo collection after her mother's death — boxes and albums from four generations — she had approximately 1,400 photographs. The scale required a systematic approach.
Planning Phase: Before You Touch a Scanner
Inventory first. Go through everything once without scanning. Create a rough count by decade and format. This helps you estimate the total time and prioritize the sequence.
Gather equipment. You'll need: a quality flatbed scanner (Epson Perfection V39 or better for prints; scanner with transparency adapter for negatives and slides), 1TB external hard drive minimum, photo organization software (Adobe Lightroom or Apple Photos are both good options).
Set naming conventions. Before you start, decide how you'll name files. A consistent system like YYYY-MM-DD_Description_001.tif is searchable and meaningful. Changing naming conventions mid-project creates inconsistency.
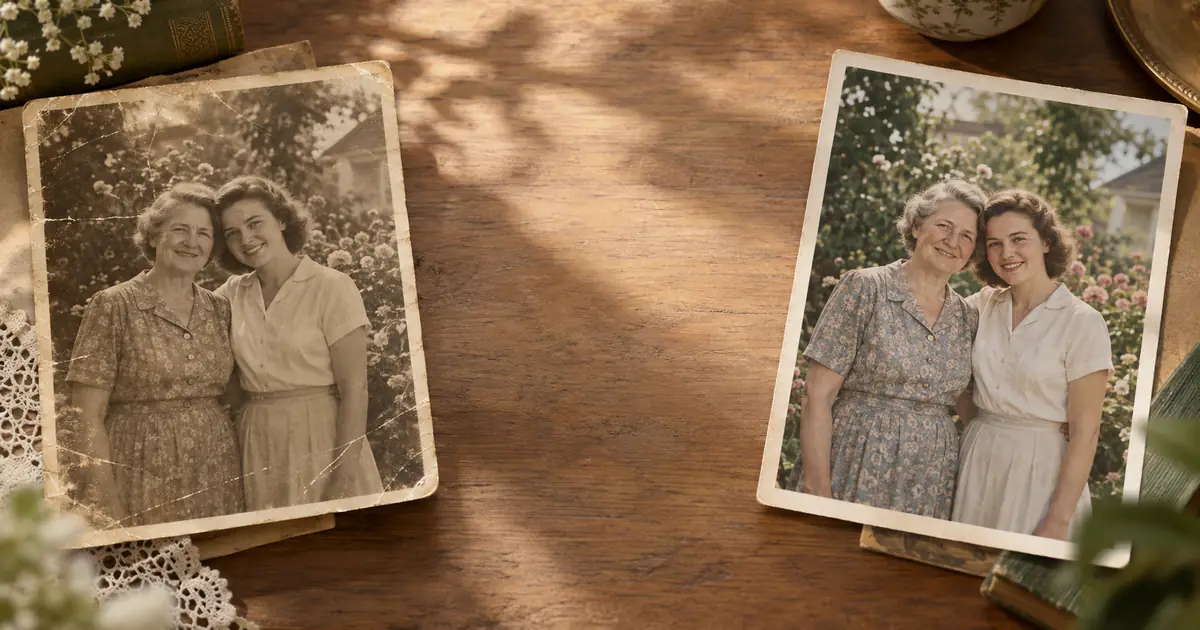
Skip the manual work? Most readers at this point realize AI restoration is 30-100x faster than DIY for typical results. Try AI restoration on this photo → — $9.90 once, unlimited HD downloads, no subscription.
Scanning Workflow
Batch by format and approximate date. Scanning all 1920s prints in one session, then all 1950s slides, is more efficient than mixing formats — you adjust scanner settings once per session rather than constantly.
Scan at consistent settings. For prints: 600 DPI, color mode, TIFF format. For slides/negatives: 2400-4000 DPI, color mode, TIFF format. Don't be tempted to use JPEG to save space — you'll regret it.
Quality check every 20th scan. Open at 100% zoom and verify that focus, color, and exposure are correct. Problems that develop mid-session are easier to catch early.
Organization as You Go
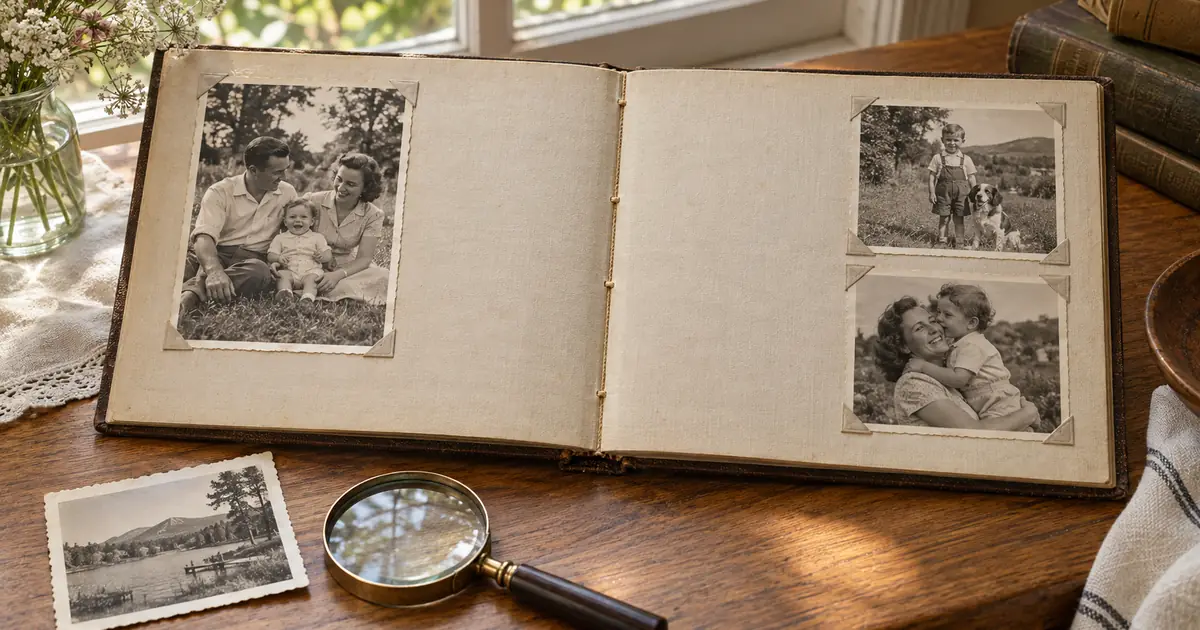
A digital archive that exists in an undifferentiated folder of 1,400 files is barely better than a shoebox. As you scan:
Create a folder structure. Organize by decade (1920s/, 1930s/, etc.) or by family branch, whichever makes more sense for your collection.
Embed metadata. Use Lightroom or similar to add caption information to each file — who is pictured, approximate date, location. This information travels with the file.
Share for identification. After each decade's scans, share thumbnails with family members who can help identify people and events.
AI Restoration in the Workflow
For a large collection, run everything through AI restoration systematically. The time cost is modest relative to the scanning time, and the quality improvement is consistent.
Lisa's 1,400-photograph project took six weekends. The result was a complete digital archive that she shared with four branches of the family, organized into a structure that her cousins described as the family resource they hadn't known they needed.
Start your large collection digitization with our photo restoration tool.
Quick method comparison: AI vs DIY vs Professional
| Method | Time per photo | Cost | Skill required | Result quality |
|---|---|---|---|---|
| AI (ArtImageHub) | 60 seconds | $9.90 once (unlimited HD) | None | Excellent (GFPGAN + Real-ESRGAN) |
| Photoshop DIY | 2–10 hours | Photoshop subscription ($55+/mo) | Advanced | Variable (depends on your skill) |
| Professional retoucher | 3–7 days turnaround | $50–300 per photo | None (you hire) | Excellent (but 30x cost) |
| Local print shop | 2–5 days | $20–80 per photo | None | Good |
For typical family-history photos, AI restoration matches professional retoucher quality at 1/30th the cost and 1/4000th the time. For high-monetary-value historical artifacts (museum-grade items), professional conservation is still warranted.
For era-specific damage profiles, see Old Photo Restoration by Decade complete index.
For damage-specific recovery protocols, see Old Photo Damage Recovery by Type complete guide.
Try ArtImageHub directly — $9.90 one-time for unlimited HD restoration.
Share this article
Ready to Restore Your Old Photos?
Try ArtImageHub's AI-powered photo restoration. Bring faded, damaged family photos back to life in seconds.