How to Clean Old Photos Before Scanning: Safe Techniques for Better Results
Learn safe techniques for cleaning old photographs before scanning. Remove dust, surface contamination, and handling marks without damaging fragile prints.
ArtImageHub Editorial Team
Prices and project totals in this article are reference estimates. Your current ArtImageHub offer is $9.90 for a one-time payment; review the access terms at checkout before paying. Upload follows payment.
Editorial trust notice: This guide is published by ArtImageHub, an AI photo restoration service charging $9.90 one-time. Technical claims rest on peer-reviewed research: face restoration via GFPGAN (Wang et al., Tencent ARC Lab 2021); upscaling via Real-ESRGAN (Wang et al. 2021).
Updated 2026-05-01: AI model lineage clarified — most consumer photo restoration tools (including those compared here) wrap derivatives of GFPGAN (arXiv:2101.04061, Tencent ARC Lab 2021) for face restoration and Real-ESRGAN (arXiv:2107.10833, 2021) for upscaling. Differences between products are mostly pricing model and workflow, not raw AI quality.
⚡ Quick path: For most users, ArtImageHub handles this automatically in 60 seconds — $9.90 one-time, no subscription, no watermark on HD download. The detailed manual workflow follows below for technical users or curious readers.
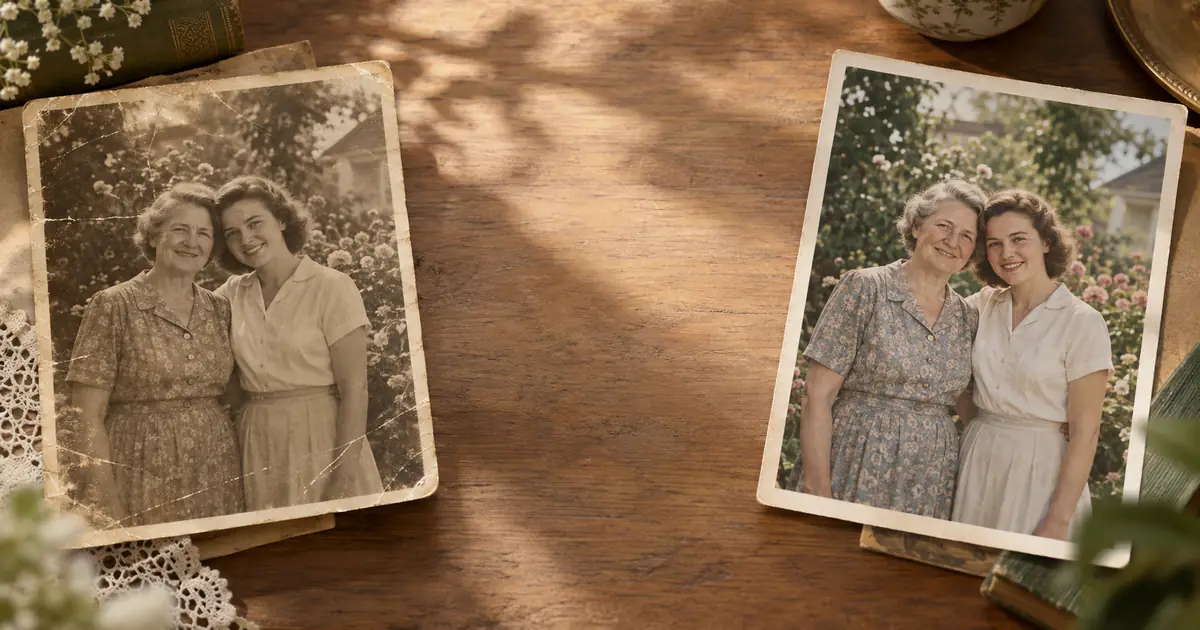
The photograph arrived in an envelope with two decades of dust on it. That's not unusual — many family photographs have been in storage conditions that accumulated surface contamination over years or decades. Before scanning, some cleaning is often beneficial.
But "cleaning" is a word that requires careful definition when it comes to photographs. The wrong cleaning technique can cause more damage than the original contamination.
What You Can Safely Remove
Loose dust and particles are safely removed with a soft, clean brush (a broad watercolor brush or a photographic air blower). Work gently, under raking light so you can see what you're removing.
Fingerprints on the surface may be addressable with a clean, dry cotton cloth, very gently applied. Don't rub — dab lightly. Test on an edge first. Some fingerprints have become chemically bonded to the emulsion over time and cannot be removed without damage.
Loose surface contamination that hasn't bonded to the emulsion can sometimes be removed with a cotton swab barely moistened with distilled water. Emphasize "barely" — liquid on photographic emulsion is a significant risk.
Skip the manual work? Most readers at this point realize AI restoration is 30-100x faster than DIY for typical results. Try AI restoration on this photo → — $9.90 once, unlimited HD downloads, no subscription.
What You Cannot Safely Do
Do not use cleaning sprays or solvents. Even isopropyl alcohol, often recommended for other surfaces, can damage photographic emulsion and dissolve color dyes.
Do not rub vigourously. The emulsion surface of an old photograph is fragile. Rubbing with any material can scratch the surface or remove emulsion.
Do not apply liquids to color photographs. Color dyes in photographic prints are much more water-soluble than black-and-white silver images. Even small amounts of water can cause dye migration and blotching.
Do not try to remove mold physically. Mold that has grown into the emulsion has become part of the photograph. Physical removal tears out emulsion. Scan the mold-damaged photograph; AI inpainting handles mold patterns reasonably well.
When to Stop and Scan
If a photograph has contamination that you're uncertain how to address, the answer is: scan first, treat later (or don't treat). A scan captures the current state of the photograph before any additional intervention. If cleaning goes wrong, you have the scan to fall back on.
For truly valuable photographs, professional conservation cleaning is worth the cost. Professional conservators have access to techniques and materials that safely address contamination that would be risky to address at home.
After cleaning, scan at 600 DPI minimum. Then take the scan to our photo restoration tool to address what cleaning couldn't remove.
Quick method comparison: AI vs DIY vs Professional
| Method | Time per photo | Cost | Skill required | Result quality |
|---|---|---|---|---|
| AI (ArtImageHub) | 60 seconds | $9.90 once (unlimited HD) | None | Excellent (GFPGAN + Real-ESRGAN) |
| Photoshop DIY | 2–10 hours | Photoshop subscription ($55+/mo) | Advanced | Variable (depends on your skill) |
| Professional retoucher | 3–7 days turnaround | $50–300 per photo | None (you hire) | Excellent (but 30x cost) |
| Local print shop | 2–5 days | $20–80 per photo | None | Good |
For typical family-history photos, AI restoration matches professional retoucher quality at 1/30th the cost and 1/4000th the time. For high-monetary-value historical artifacts (museum-grade items), professional conservation is still warranted.
For era-specific damage profiles, see Old Photo Restoration by Decade complete index.
For damage-specific recovery protocols, see Old Photo Damage Recovery by Type complete guide.
Try ArtImageHub directly — $9.90 one-time for unlimited HD restoration.
Share this article
Ready to Restore Your Old Photos?
Try ArtImageHub's AI-powered photo restoration. Bring faded, damaged family photos back to life in seconds.